Understanding Ant
First things first. You need to understand Ant build files and how Ant is working in general. If you do not also using any automation offered by tools like eclipse will not get you very far. Therefore I suggest to read through the tutorial linked below or to consult other resources before you start working with Ant. You might have some fast advantages using Ant without understanding it but you will miss the big picture and sooner or later run into problems.
http://www.tutorialspoint.com/ant/index.htm
Motivation for this article
This page is not giving detailed instructions on how to configure an Ant build file in general, but will only serve me as a receipee and reference for cooking up Ant build files for referenced jar files in other projects in future.
It will only cover one use case of Ant, which is automatically building a JAR file from a Java SE project providing a self coded API for use in other projects.
Why don't I just use the Export function of eclipse in order to create a new build.xml? Well mainly because I like to understand what is happening. Using this eclipse automism I did not. Secondly the eclipse documentation for automatically creating JARs from eclipse projects is showing how to create the build.xml manually. Furthermore an automatically created file would have to be adjusted manually afterwards anyway and the results have been rather confusing for me.
Target is to keep this article as simple as possible, but also as informative as necessary to get me started after not having used Ant for a long time.
Version history
| Version | Date | Description |
| 0.1 | 2015-03-07 | Initial version. |
Creating a build file for a Java SE Eclipse project to automatically create a JAR
First we create a new file called build.properties. This is a simple property file, which has to be placed in the same directory as the actual build.xml, which can be thought of as a script.
After that we create the actual build file and implement our script in it.
build.properties
A build.properties file is placed in the root directory of an eclipse Java project.
It contains fix properties, which can be referenced in more than one build file. If you have for example several build files to fullfill different tasks you do not want to carry out changes in the directory structure in hundreds of build files but only once.
In the build.properties we maintain the following information.
custom = true
# The url to my homepage.
site=www.consulting-bolte.de
# The current build version .
buildversion=0.0.1
# Build directory where Java .class files will be stored in.
build.dir=${basedir}/bin/
# Source directory where .java files are located in.
src.dir=${basedir}/src/
lib.dir=${build.dir}lib/
Comments are placed in property files using the prefix '#'.
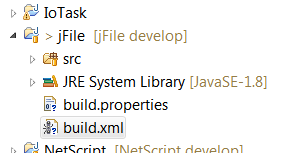
build.xml
A build file is placed in the root directory of an eclipse Java project.
The first xml tag is the project tag. It wrappes around all other tags and contains genreal information on the project like its name and the root path of a Java project as well as a mandatory default command to execute.
In order to reference a property file (build.properties) in a build file, create a property file tag.
Since this property file resides in the same directory as the actual build file we do not have to provide a file path but only its name.
Now for creating a default command to be executed whenever a build.xml is ran in Ant.
The above target called info is referencing information from a build.properties file by using its property names in the build.xml. To do so, use the syntax ${propety name} where ever you need a property to be used.
After you have come this far it is time for a little test.
Open the Java Perspective in Eclipse select the build.xml from the project explorer and select "Run As -> 1 Ant Build" from its context menu.
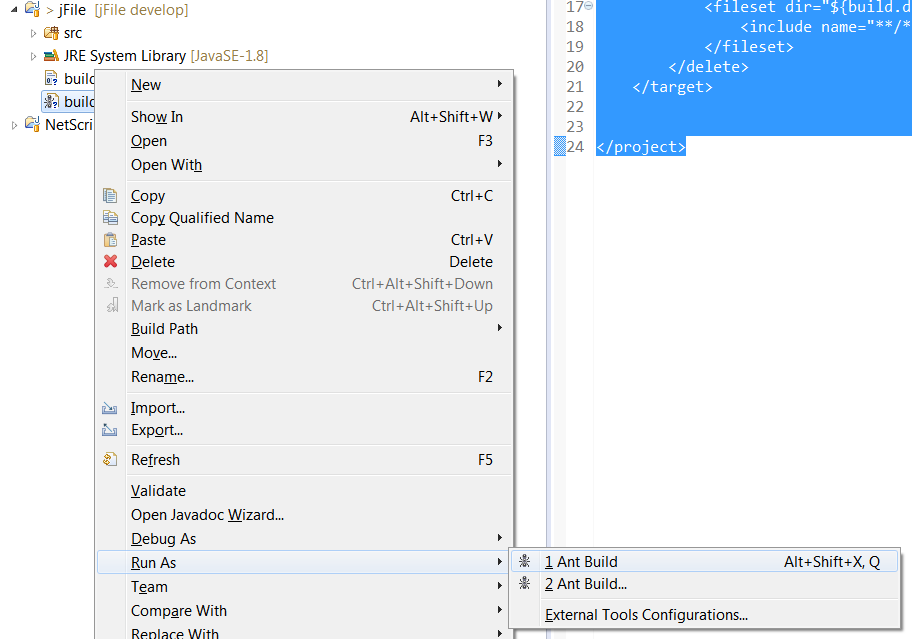
The result will be shown in your Eclipse console and should look like the following text depending on your configuration of the two build files build.xml and build.properties of course.
Buildfile: C:\Users\bla\workspace\jFile\build.xml
info:
     [echo] project JFile
     [echo] BaseDir - C:\Users\bla\workspace\jFile
     [echo] Homepage - www.consulting-bolte.de
     [echo] Build directory - C:\Users\bla\workspace\jFile/bin/
     [echo] Buildversion - 0.0.1
BUILD SUCCESSFUL
Total time: 246 milliseconds
First, on the very left of the console window Ant will list the command, which has been executed. In this example it is called info:, but you can give it any name and then define it as the default target in a project tag of a build.xml. Then, below this it will list the output of an executed command as well as any occured exceptions.
So far so good, but the build is not triggering any actions in Ant but displaying some general information on screen.
Let's implement a first simple command. Commands in Ant build files are called targets and as the name says the corresponding tag is called target as well.
The target "clean" is configured to delete all files in the build.dir, which meet the file name pattern provideded in an include tag. build.dir is a referenced property name from the build.properties file.
build.dir=${basedir}/bin/
The delete tag is easy enough to understand. The fileset is an Ant specific datatype defining a collection of files actions can be applied on. For details check the Ant documentation. In this case we are telling the fileset to collect all files from directory build.dir and all sub directories, which are Java class files.
How to call a target from another target in a build.xml
If you now run your build.xml in Ant again the output in the Eclipse console will look exactly the same as before. Nothing changed, why is that?
Buildfile: C:\Users\bla\workspace\jFile\build.xml
info:
     [echo] project JFile
     ...
BUILD SUCCESSFUL
Total time: 235 milliseconds
The new target "clean" has not been executed.
In order to reference or call a target from another target in a build.xml file we can use the depends attribute of the target xml tag. The depends tag can take a comma separated list of targets a calling target depends on.
But this means that the execution order of targets is always build from end to start and this makes the configuration of these chains of execution a bit annoying.
I deceided to go with the depends tag for now even though it would be easier to use the automation offered by Eclipse this time. Eclipse offers an external configuration tool for setting parameters in Ant build files, but why would I mix two approaches, only to find they are messing with each other. So for now I stick with the manual path. If you choose to leave me here, :0) ... go ahead.
In above example I included the depends property in the target tag for the target clean. If we now run the build.xml again, the console will show the following output.
Buildfile: C:\Users\bla\workspace\jFile\build.xml
clean:
info:
     [echo] project JFile
     [echo] BaseDir - C:\Users\bla\workspace\jFile
     [echo] Homepage - www.consulting-bolte.de
     [echo] Build directory - C:\Users\bla\workspace\jFile/bin/
     [echo] Buildversion - 0.0.1
BUILD SUCCESSFUL
Total time: 2 seconds
The target clean has been executed before the target info.
Configuration of the actual build
Now for a more complex configuration: the actual build. In the below build target we for now want to do the following.
- Create the target directories for the binaries of our project.
- Compile all source files into binaries and place these binaries in the target directory created before.
Using the tag mkdir we can create directories if they are not existing yet. The tags property dir gives the command the parameter holding the path to the directory which should be created.
The tag javac is calling the java compiler and places the given source file in a target directory. The following parameters are important to understand.
- destdir - the target directory for compiled class files
- source - the source version of the java software development kit used to compile class files for an eclipse project for which the build.xml is used.
- target - the target version of the java runtime environment used to run the compiled class files. Source and target have to be the same version, else you are giving yourself unnecessary trouble.
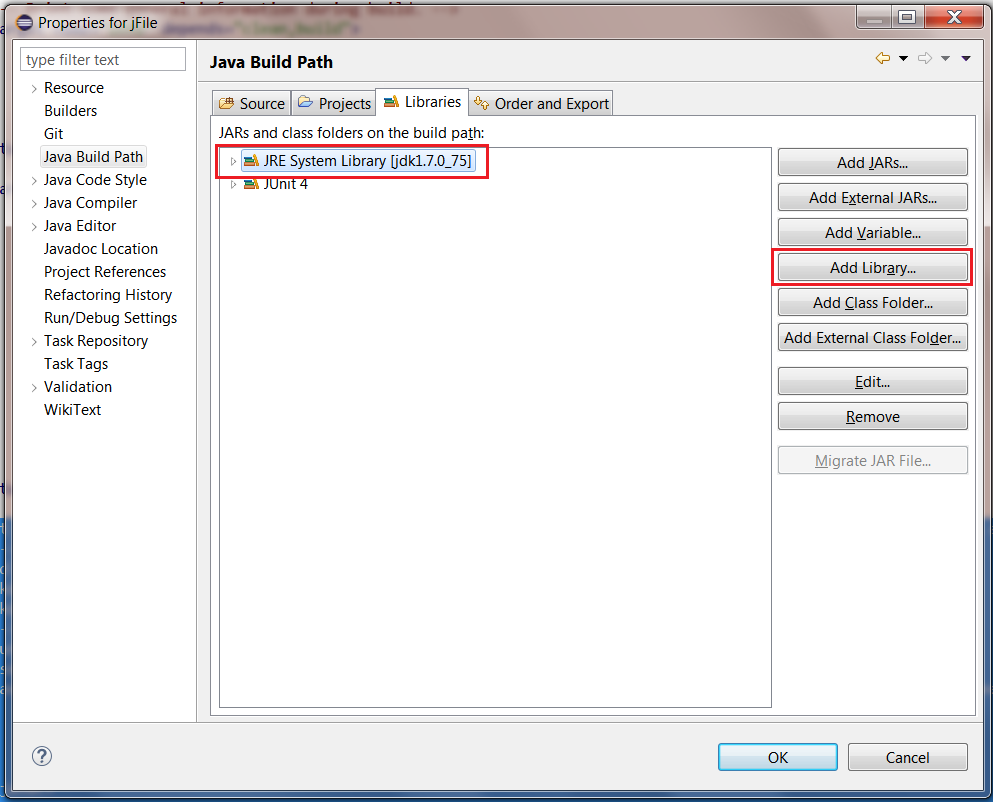
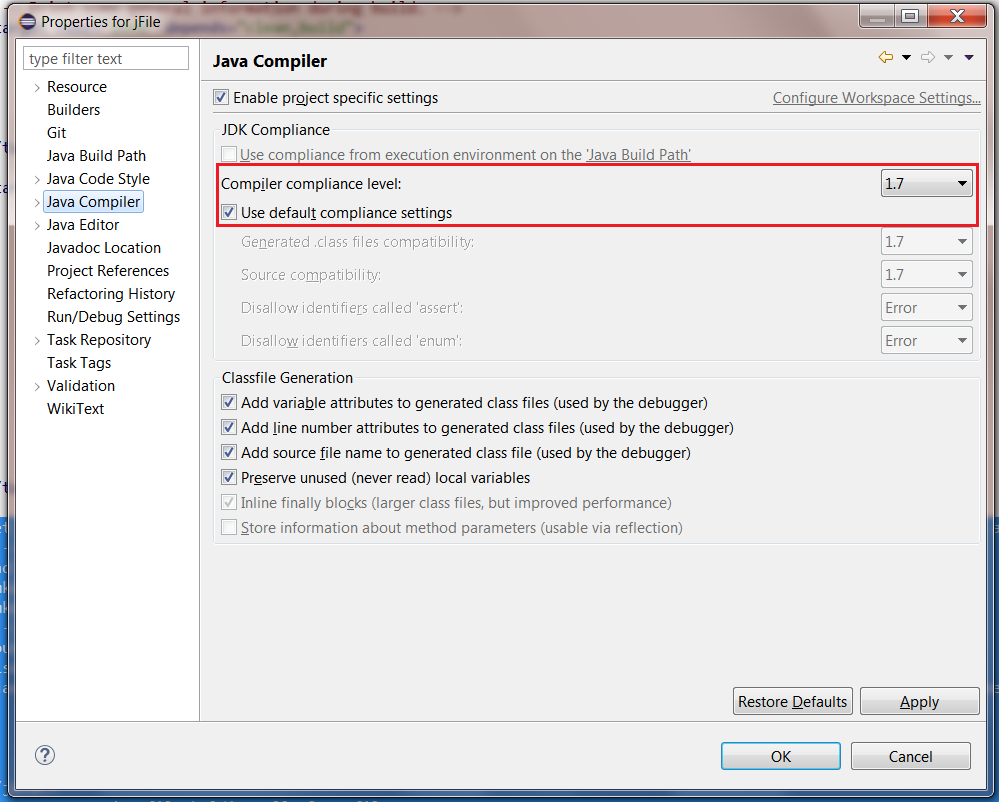
Make sure to select a matching java version in an eclipse projects properties for the Java Build Path and Java Compiler -> Compiler compliance level. Else you run into compiler errors during build. In a projects java build path add an jre system library matching the target version a project will be run in. Remove all other JREs from a projects java build path.
The source directory for the java compiler to pick up java files to compile is placed as an extra tag into the javac tag. It is called src and just provides a path to a source directory.
In case you want to exclude special files like classes for unit testing from a build, use the exclude tag within a javac tag. There you can provide something like
name="**/de/consulting/bolte/test/*.java"
in order to exclude all .java files located in a soecial directory, in this instance all files in directory test. "**/" is the directory provided in the src tag.
Before we can run the new script including the new build target, we have to include it in the depends attribute of the info tag.
When we now run the buld.xml as Ant script, the output on the Eclipse console should look somewhat like this.
clean:
build:
    [javac] Compiling 9 source files to C:\Users\bla\workspace\jFile\bin
    [javac] Creating empty C:\Users\bla\workspace\jFile\bin\de\consulting\bolte\io\package-info.class
info:
     [echo] project JFile
     [echo] BaseDir - C:\Users\bla\workspace\jFile
     [echo] Homepage - www.consulting-bolte.de
     [echo] Build directory - C:\Users\bla\workspace\jFile/bin/
     [echo] Buildversion - 0.0.1
BUILD SUCCESSFUL
Total time: 750 milliseconds
Now we have a new section in our output called build. As you can see, first the target clean, then the target build and finally the target info are executed. This script order is down to the target order in the depends attribute of the info target.
The call of the java compiler automatically echos some information on applied actions on the screen, stating how many files are compiled and in which directory they are stored.
Adding a command to create a jar file
In order to create a jar file every time an Ant script is executed, add the jar tag to a target. I would say it is common to place this tag in your build target.
First we add a new tag of type mkdir in order to create a new directory where we can place created jar files in. Since the created jar files are in my case intended to be used as libraries, I call this directory lib.dir. This is a name from a property file and the corresponding entry in the property file looks as follows.
build.dir=${basedir}/bin/
lib.dir=${build.dir}lib/
The property lib.dir is referencing the path provided by the property build.dir.
Since we only want to include the class files in the jar archive, the basedir property of the jar tag is set to use the build.dir.
The jar name is derived from the project name and provides concatenated with the lib.dir the destination file property of the jar Ant tag.
But now we need to regard created jar files in the clean tag, else we will have problems in target directories like lib.dir during the next build.
First a new directory lib.dir is created using the path from a corresponding parameter file. Then we can define a delete tag filtering only for jar files (fileset).
If you know run the script again, the output will look somewhat as follows.
Buildfile: C:\Users\bla\workspace\jFile\build.xml
clean:
build:
    [javac] Compiling 9 source files to C:\Users\bla\workspace\jFile\bin
    [javac] Creating empty C:\Users\bla\workspace\jFile\bin\de\consulting\bolte\io\package-info.class
      [jar] Building jar: C:\Users\bla\workspace\jFile\bin\lib\jFile.jar
info:
     [echo] project JFile
     [echo] BaseDir - C:\Users\bla\workspace\jFile
     [echo] Homepage - www.consulting-bolte.de
     [echo] Build directory - C:\Users\bla\workspace\jFile/bin/
     [echo] Buildversion - 0.0.1
BUILD SUCCESSFUL
Total time: 734 milliseconds
Success! We have created a jar file containing all class files, which are compiled beforehand at every build.
The full build.xml file
Below the full build.xml for reference.
And here is the corresponding property file content.
custom = true
# The url to my homepage.
site=www.consulting-bolte.de
# The current build version .
buildversion=0.0.1
# Build directory where Java .class files will be stored in.
build.dir=${basedir}/bin/
src.dir=${basedir}/src/
lib.dir=${build.dir}lib/
Enjoy.